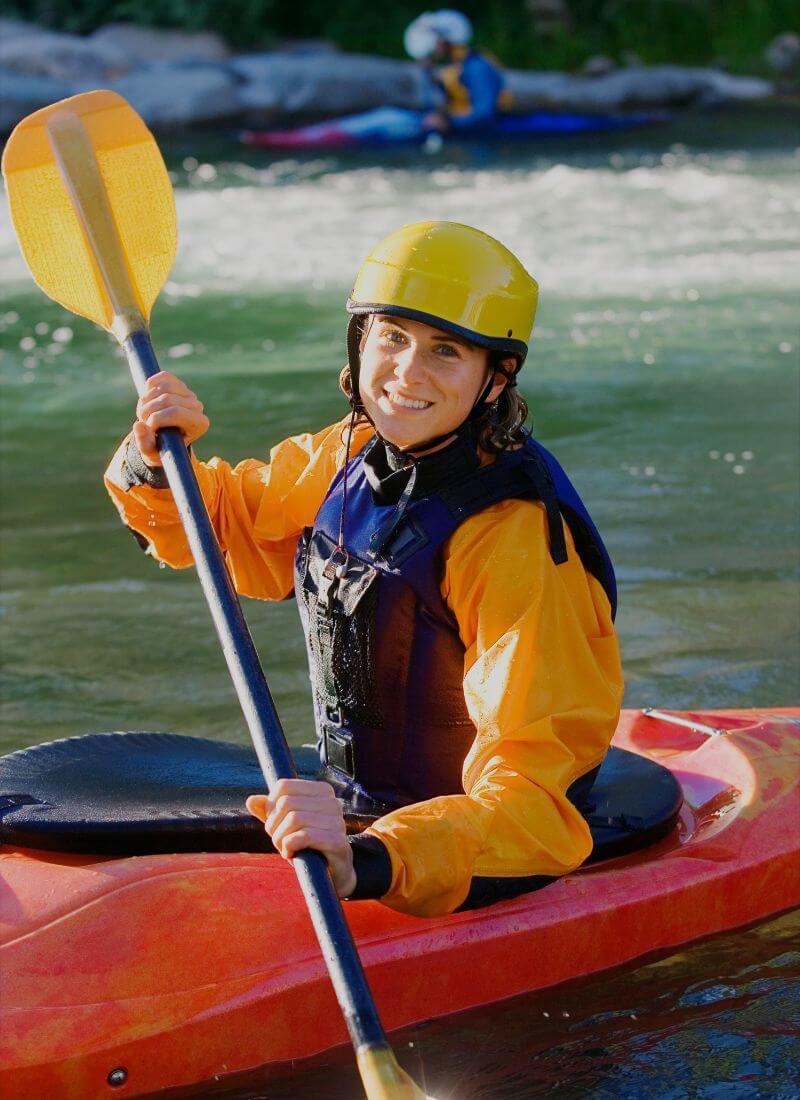
We all know that owning a kayak is not just about gliding through waters, it’s a passion. It’s a relationship between you and your vessel. And like any relationship, there are times when a little bit of a makeover is needed. That’s where repainting your kayak comes into play. So if you’ve noticed your kayak looking a little worn out or you just fancy a change of color, this guide is for you.
Why Repaint Your Kayak?
Repainting your kayak not only gives it a fresh look, but it also extends its life. It acts as a protective layer against the harmful UV rays, salt water, and other elements that could degrade your kayak over time. It’s similar to how sunscreen protects our skin. A good paint job can help maintain the integrity of your kayak and keep it looking sharp!
Also, let’s not forget the fun part. It’s a chance to express your personal style. You can choose any color or design that resonates with you. Do you want to stand out on the water with a bright red kayak? Or maybe you prefer a cool blue to blend in with the sea? The choice is yours, and the possibilities are endless!
9 Easy Steps To Repaint A Kayak
Follow the steps to repaint your kayak:
Step1: Preparing The Area For Painting
Before we start, it’s crucial to choose the right place to carry out your painting task. You need a well-ventilated area free from dust and debris. A garage with the door open or an outdoor spot with some shade would be perfect. Make sure to lay down a tarp or some old sheets to protect the floor or ground from any paint drips or spills.
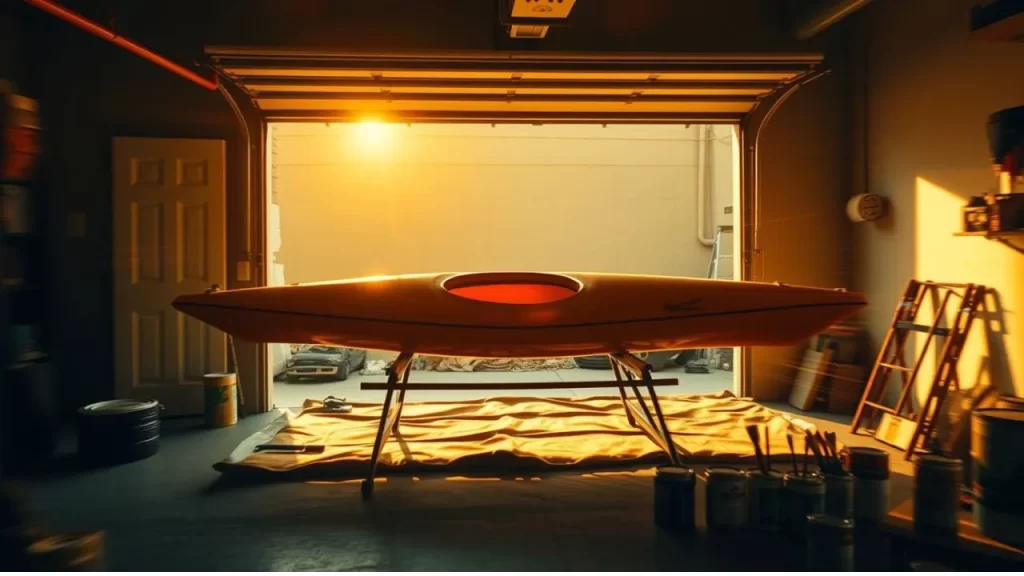
Remember, safety is paramount. Make sure the area is well lit and comfortable to work in. You don’t want to strain your eyes or back during the process. And since paint fumes can be harmful, proper ventilation is a must. So, open those windows or doors, or better yet, work outside if you can.
Step 2: Stripping Down The Kayak
Now that we’ve got our workspace sorted, it’s time to prepare our kayak. We need to strip it down to its bare bones. This means removing all accessories such as the seat, foot braces, rod holders, and any other mounted hardware. We need a clean, obstruction-free surface to work on.
Think of it as getting a haircut. You wouldn’t cut your hair with a hat on, would you? The same logic applies here. Removing the accessories will ensure we get a smooth, even paint job without any missed spots. Plus, it also protects your kayak’s accessories from getting accidentally painted or damaged.
So grab your tools and start removing those accessories. But here’s a tip: keep all the removed parts and screws in a safe place. You don’t want to lose anything. A small box or a ziplock bag would do the trick. And remember to take note or snap a picture of how things were installed, as it will make your life easier when it’s time to put everything back together.
Step 3: Cleaning The Kayak
Now that we have our workspace set up and the kayak stripped down, it’s time to get down to business. First things first, we need to clean our kayak. Why, you ask? Well, over time, dirt, dust, and other contaminants can accumulate on the surface of your kayak. These impurities can interfere with the paint’s ability to adhere to the kayak, leading to a less-than-stellar finish.
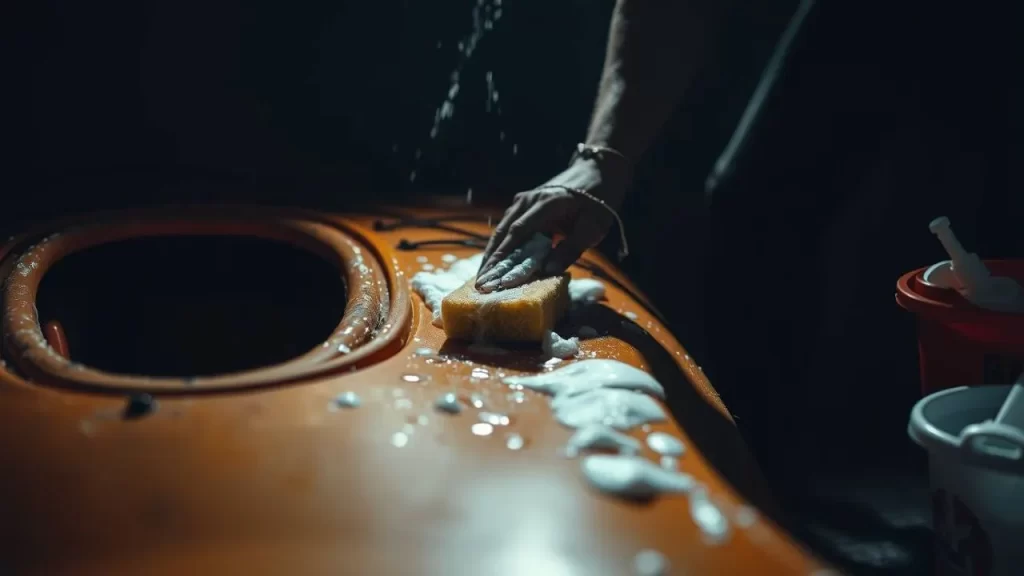
You can use a simple mixture of water and detergent to clean your kayak, or opt for a specialized cleaner. Don’t rush this step. Take your time to thoroughly clean the kayak’s surface. Make sure to get into all the nooks and crannies. You might be surprised at how much dirt can hide in these spots!
Step 4: Sanding The Surface
Once we are satisfied with our cleaning efforts, it’s time for the next step: sanding the surface. This might sound like a tedious task, but it’s crucial for a successful painting job. Sanding the kayak helps to roughen the surface, making it easier for the paint to stick to it. It’s all about creating the perfect canvas for our masterpiece!
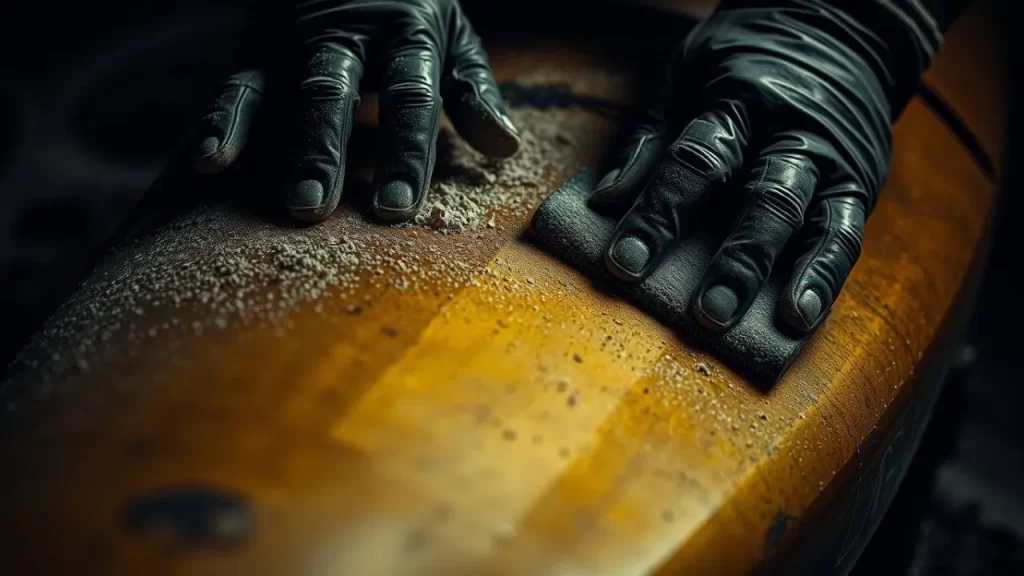
For this step, you can use medium to fine-grit sandpaper. Start with a coarser grit (120-150) for the initial sanding, and then switch to a finer grit (220) for the detailed work. Remember, our goal is to transform the kayak’s surface from glossy to dull. This indicates that we’ve achieved the perfect texture for painting.
Here’s a pro tip: always sand in the direction of the grain of the kayak. This will help you achieve a smoother finish and prevent any unwanted scratches. And don’t forget to wipe away the dust after sanding. We don’t want any of it interfering with our paint job!
Step 5: Applying Primer
With our kayak cleaned and sanded, we’re now ready for the prime time – literally! Applying primer is the next important step in our kayak repainting process. The primer acts as a binding layer between the kayak’s surface and the paint. It increases the paint’s adhesion, ensuring our paint job lasts longer and looks better. It’s like the foundation for a house. You wouldn’t build a house without a solid foundation, would you?
You can use a water-based primer or one specially designed for plastics. Make sure to apply a thin, even layer of primer. Be patient and let it dry completely before moving on to the next step. If you rush this part, the primer might not bond properly with the surface, which could lead to peeling in the future.
Painting a kayak isn’t just about making it look good. It’s about creating a bond with your vessel, understanding its contours and curves, and giving it a new lease on life. It’s a labor of love, and every step we take brings us closer to our goal. So keep your spirits high, fellow kayak enthusiasts. We’re on our way to a beautiful transformation!
Step 6: Choosing The Right Paint
Now, it’s time to choose the right paint for your kayak. This is a critical step as not all paints can adhere well to the polyethylene surface of your kayak. So, you must be selective with your paint choice.
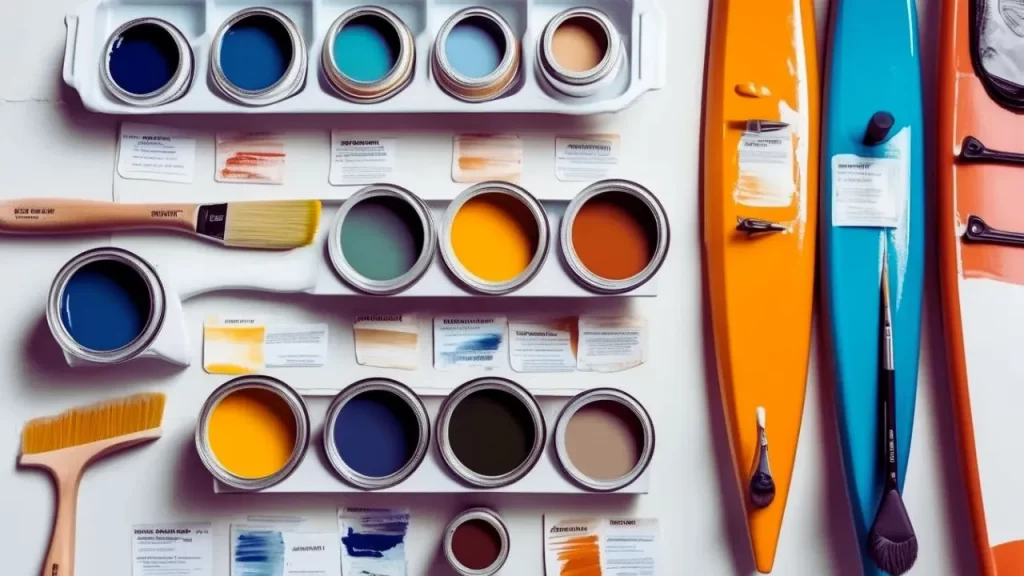
We recommend using a specialized paint such as marine-grade polyurethane paint, which is particularly suitable for water exposure. This type of paint is durable and can withstand the harsh conditions your kayak may face. Another good option is two-part polyurethane or epoxy paint. These paints offer better durability, but they could require professional application.
Remember, using standard spray paints or rattle-can paints is not advisable as they do not adhere well to polyethylene. So, it’s always best to stick with paints specifically designed for plastics or marine use.
Step 7: Painting The Kayak
Now comes the fun part – painting the kayak! To start, make sure you don a pair of gloves and a painting mask for protection. Then, apply the paint in thin, even layers to prevent runs and clumps. You may need at least two coats to get the desired look.
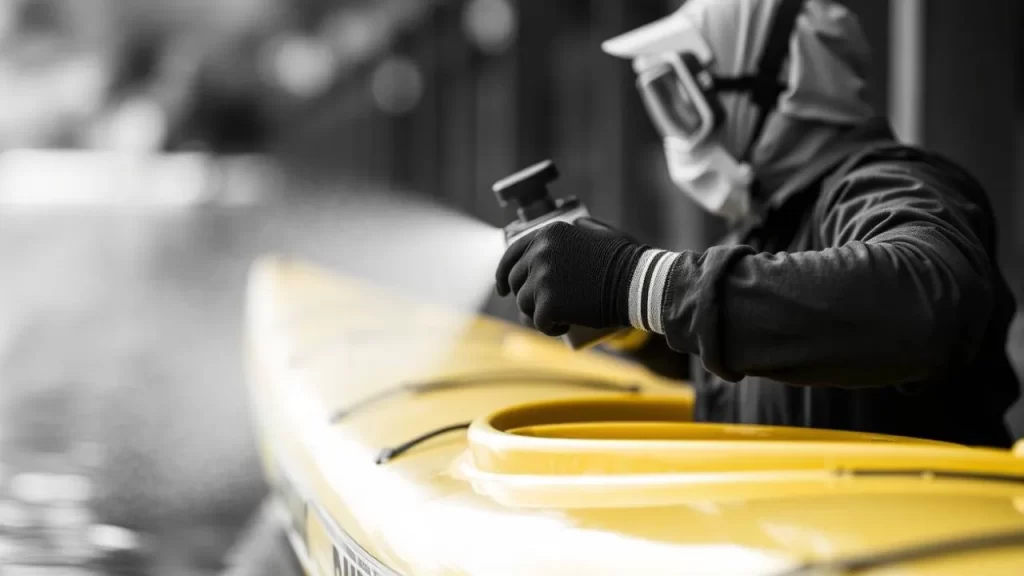
Make sure to let each coat dry for a couple of hours before adding the next one. And once you’re done painting, let the kayak dry for a full 24 hours to ensure the paint is fully set. Rushing this stage could affect the quality of your paint job, so patience is key!
Step 8: Applying A Clear Coating
Once you’re satisfied with the paint job and it’s fully dried, it’s time to apply a clear coat of finishing paint. This layer helps protect your fresh paint job from scratches and harsh weather conditions. Think of it as an invisible shield that keeps your beautiful paintwork in prime condition.
Remember to let the clear coat dry completely before moving on to the next step. Just like the paint, rushing this stage could affect the quality of your finish.
Step 9: Reassembling & Final Touches
Now that your paint job is complete and your clear coat is fully dry, it’s time to reassemble your kayak. This means reinstalling all the accessories you removed earlier, like the seat, foot braces, and rod holders. Make sure everything goes back in its proper place and is securely fixed. Your kayak is now ready for its next adventure!
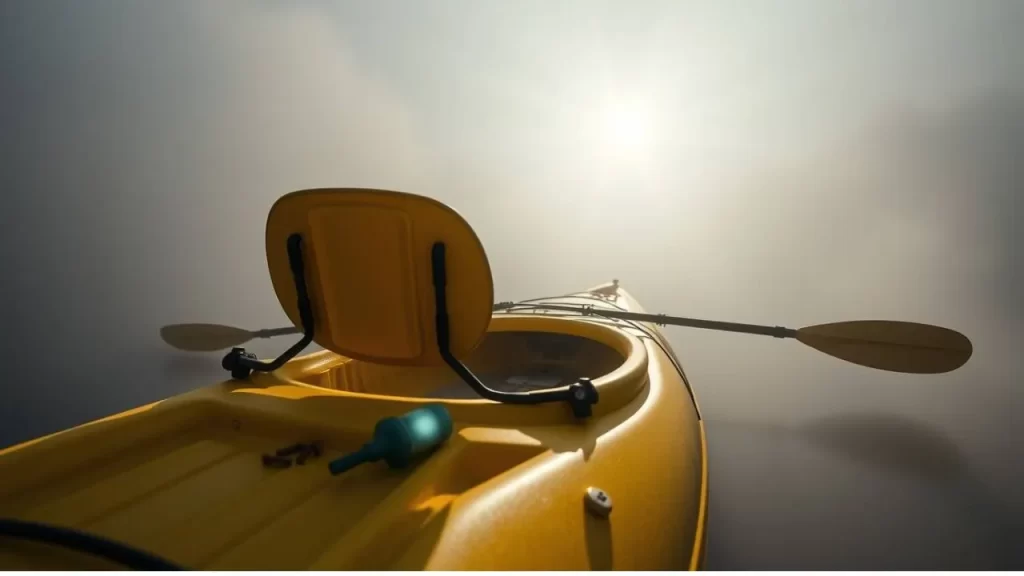
Repainting your kayak is not just about aesthetics; it’s about extending its lifespan and making it uniquely yours. With your newly painted kayak, you’re not just ready to hit the water; you’re ready to do it in style!
Remember, the key to a great paint job is patience and preparation. Don’t rush the process. Instead, take your time to clean, sand, prime, and paint your kayak properly. And when it’s all done, you’ll have a kayak that not only looks great but is also more resistant to the elements.
So, here’s to a fresh look and many more adventures on the water with your newly painted kayak!

